

 by
by 
Maintaining your Charger involves more than just regular oil changes and tire rotations. One of the crucial aspects of vehicle maintenance is ensuring that the transmission fluid is at the correct level and in good condition. The transmission fluid is vital for lubricating the components of the transmission and facilitating smooth gear shifts. Over time, this fluid can degrade, leading to poor performance and potential transmission issues.
In this article, we will guide you through the steps to check and change the transmission fluid in your Charger. Regular service of the transmission fluid not only enhances vehicle performance but also prolongs the life of your car’s transmission system. Understanding how to monitor and maintain this fluid can save you from costly repairs down the road.
Before diving into the inspection and replacement process, it’s essential to have the right tools and products on hand. Whether you’re a seasoned mechanic or a first-time DIYer, following a systematic approach will ensure that your Charger runs smoothly and efficiently. Let’s explore the step-by-step procedure for checking and changing your transmission fluid.
Identifying the Right Transmission Fluid for Your Charger
When it comes to maintaining your Charger, selecting the correct transmission fluid is essential for optimal performance and longevity. The right fluid ensures that the transmission operates smoothly and efficiently, preventing potential damage and enhancing driving experience.
Consult Your Owner’s Manual: The first step in identifying the appropriate transmission fluid is to reference your Charger’s owner’s manual. This manual provides specific information regarding the recommended type and specifications of transmission fluid that best suits your vehicle model.
Understand Fluid Types: Most Chargers require either ATF+4 or other specific fluids designed for automatic transmissions. It is important to look for fluids that meet the Chrysler standards, as using incorrect types can lead to slippage and other issues.
Consider Synthetic vs. Conventional: While conventional transmission fluids are suitable for some applications, synthetic fluids offer better performance in extreme conditions. Synthetic fluids can withstand higher temperatures and provide better lubrication, making them a preferred choice for those who drive extensively or in harsh environments.
Check Fluid Level and Color: Regularly inspecting your transmission fluid level can help you ascertain if it’s time for a change. Healthy transmission fluid is typically red or pink and should not have a burnt smell. If the fluid appears dark or contains debris, it is advisable to replace it regardless of the mileage.
By carefully following these guidelines, you can ensure that your Charger operates smoothly with the right transmission fluid, ultimately enhancing its reliability and performance on the road.
Step-by-Step Guide to Checking Transmission Fluid Levels

Ensuring that your Charger’s transmission fluid is at the correct level is essential for optimal performance. Follow this step-by-step guide to accurately check the fluid levels.
Step 1: Prepare the Vehicle
Start by parking your Charger on a level surface and engaging the parking brake. This will help you obtain an accurate reading of the fluid level.
Step 2: Warm Up the Engine
Start your Charger and let it idle for a few minutes. Warm fluid expands and flows better, making it easier to check the levels. Ensure the engine reaches normal operating temperature.
Step 3: Locate the Dipstick
Turn off the engine and locate the transmission fluid dipstick. In most Chargers, the dipstick is near the back of the engine bay, typically marked with a bright-colored handle.
Step 4: Remove the Dipstick
Carefully pull the dipstick out and wipe it clean with a lint-free cloth. This removes any fluid residue and provides a clearer reading.
Step 5: Reinsert and Remove Dipstick Again
Insert the dipstick back into the tube fully, then remove it again to check the fluid level. Observe the markings on the dipstick to determine if the fluid is at the optimal range.
Step 6: Check Fluid Condition
In addition to checking the level, assess the color and texture of the fluid. Healthy transmission fluid should be red or pink and free from debris. If it appears dark, brown, or gritty, consider changing the fluid.
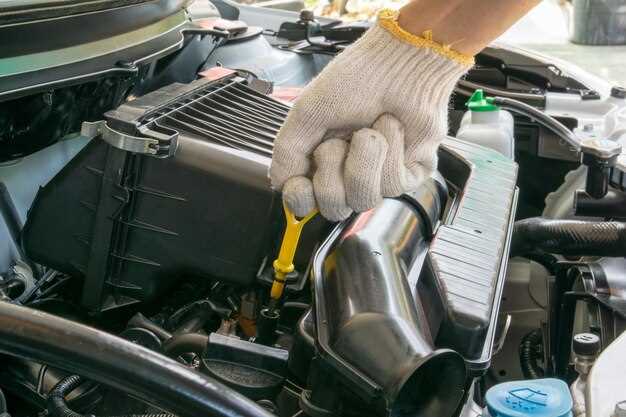
Step 7: Add Fluid if Necessary
If the fluid level is low, add the manufacturer-recommended transmission fluid using a funnel to avoid spills. Be careful not to overfill, as this can lead to transmission issues.
Step 8: Final Check
After adding fluid, wait a few moments and recheck the dipstick to ensure the level is correct. Ensure the vehicle is ready for smooth operation.
Regularly checking your Charger’s transmission fluid can help prolong its lifespan and maintain optimal performance. Incorporate this service into your vehicle maintenance routine.
Process for Draining and Replacing Transmission Fluid
To maintain optimal performance and longevity of your Charger, regular service of the transmission fluid is essential. This process involves draining the old fluid and replacing it with new, high-quality transmission fluid.
Step 1: Prepare Your Workspace
Before starting, ensure you have a level surface to work on. Gather all necessary tools including a socket set, a drain pan, a funnel, and the appropriate transmission fluid recommended for your Charger.
Step 2: Drain the Old Fluid
Locate the transmission fluid pan beneath the vehicle. Using a socket wrench, remove the bolts securing the pan. Allow the old fluid to completely drain into the pan. This step is crucial, as it helps eliminate contaminants and worn particles within the system.
Step 3: Replace the Filter (if applicable)
Once the fluid has drained, consider replacing the transmission filter to ensure optimal fluid circulation. Follow the manufacturer’s guidelines for your specific Charger model.
Step 4: Reinstall the Transmission Pan
After replacing the filter, reattach the transmission fluid pan, ensuring a tight seal to prevent leaks. Consult the vehicle’s service manual for the correct torque specifications for the bolts.
Step 5: Add New Fluid
Using a funnel, pour the new transmission fluid into the dipstick tube. Ensure you use the correct type of fluid as specified in your owner’s manual. Start with the recommended amount and check the level frequently to avoid overfilling.
Step 6: Check Fluid Level
After adding the new fluid, start the engine and let it idle for a few minutes. Move the gear selector through all positions before placing it back in park. Check the fluid level again with the dipstick to ensure it is within the correct range.
Step 7: Dispose of Old Fluid Properly
Finally, dispose of the used transmission fluid and filter in accordance with local regulations. This is vital for environmental safety and compliance.
By following these steps, you can effectively drain and replace the transmission fluid in your Charger, ensuring smooth operation and enhancing the lifespan of the transmission system.


