

 by
by 
Maintaining your Charger exhaust system is crucial for optimal performance and longevity. Proper care not only enhances the power and efficiency of your vehicle but also contributes to a healthier environment by ensuring that harmful emissions are minimized. Over time, exhaust systems can become corroded or damaged due to heat, moisture, and a buildup of debris, making regular maintenance essential.
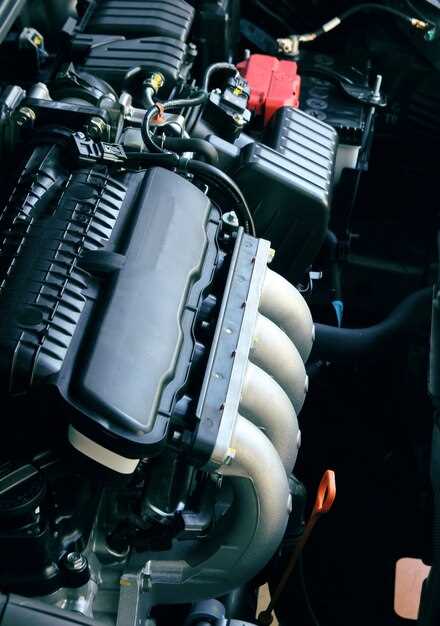
Understanding the Components of your exhaust system is the first step in effective maintenance. This includes the exhaust manifolds, catalytic converter, muffler, and tailpipe. Each component has a specific role, and any failure can lead to poor performance or increased emissions. Familiarizing yourself with these parts will help you identify potential issues early.
Routine checks and cleaning of your exhaust system can significantly extend its lifespan. Inspecting for leaks, rust, or loose connections should be part of your regular vehicle maintenance schedule. If you notice any unusual noises or smells, they may indicate a problem that requires immediate attention. Taking care of these issues promptly can prevent more significant damage and costly repairs down the line.
Identifying Common Exhaust System Issues in Chargers

The exhaust system in Chargers plays a crucial role in maintaining engine performance and reducing emissions. Recognizing issues early can prevent costly repairs and ensure optimal functioning. Here are some common problems to look for:
One prevalent issue is an exhaust leak, usually caused by wear and tear on gaskets or pipes. Signs of a leak may include a hissing or popping sound from the exhaust area, diminished engine performance, or the smell of fumes entering the cabin. Regularly inspecting joints and connections can help identify leaks sooner.
Another typical problem is excessive noise. An unusually loud exhaust could suggest that the muffler is damaged or that there is a hole in the exhaust system. This not only affects the auditory experience but can also lead to further mechanical issues if not addressed promptly.
Performance problems can also arise from a clogged catalytic converter, which can lead to increased backpressure. Symptoms include a significant drop in acceleration and engine power. If the exhaust emits a sulfur-like smell, this may indicate a failing catalyst that needs immediate attention.
Lastly, rust and corrosion can compromise the integrity of the exhaust system. Visual inspections for flaking or discoloration on pipes can reveal underlying issues. Corrosion can weaken components, leading to potential failures down the line.
By being proactive and vigilant, Charger owners can address these exhaust system issues before they escalate, ensuring the vehicle runs smoothly and efficiently.
Step-by-Step Cleaning Process for Charger Exhaust Components
Maintaining your Charger’s exhaust system is crucial for optimal performance and longevity. Follow this step-by-step guide to ensure your exhaust components are thoroughly cleaned and free from debris.
Step 1: Gather Your Tools and Materials
Prepare your cleaning supplies, which include a socket set, wrenches, a wire brush, exhaust pipe cleaner, a soft cloth, and a degreaser. Ensure you have safety gloves and glasses to protect yourself during the cleaning process.
Step 2: Safety First
Before starting, allow your vehicle to cool down completely to avoid burns. Disconnect the battery to ensure safety while working on the exhaust components.
Step 3: Access the Exhaust System
Lift your Charger using ramps or a jack, securing it with jack stands. Locate the exhaust parts that need cleaning, including the manifold, catalytic converter, and exhaust pipes.
Step 4: Inspect for Damage
Carefully examine the exhaust components for signs of rust, cracks, or other damage. Note any areas that may require repair or replacement during the cleaning process.
Step 5: Clean the Exterior
Use a wire brush to scrub the external surfaces of the exhaust components. This helps to remove built-up soot, dirt, and corrosion. For stubborn spots, apply a targeted exhaust pipe cleaner and let it sit for a few minutes before scrubbing again.
Step 6: Degrease the Surfaces
Apply a degreaser to the cleaned areas and use a soft cloth to wipe down the components. This will help ensure that all grease and grime are removed effectively.
Step 7: Rinse and Dry
If possible, rinse the components with water to remove any remaining cleaner residue. Ensure that all parts are thoroughly dried to prevent rusting, particularly if you have used water in the cleaning process.
Step 8: Reassemble and Check Connections
Once cleaned and dried, reattach any exhaust parts that were disconnected. Ensure that all connections are tight and secure to prevent exhaust leaks.
Step 9: Final Inspection
Lower the vehicle back to the ground. Conduct a final inspection of the exhaust system, checking for any unusual sounds or leaks during engine idle. Address any issues immediately to maintain performance.
Step 10: Regular Maintenance Schedule
Create a schedule for regular cleaning and inspections of your Charger’s exhaust system, ideally every few months or based on driving conditions. Consistent maintenance will help prolong the life and efficiency of your exhaust components.
Best Practices for Regular Inspection and Maintenance Scheduling
Implementing a systematic approach to the inspection and maintenance of your charger exhaust system is crucial for optimal performance and longevity. Establish a regular schedule for inspections, ideally every three to six months, depending on your usage frequency. Consistent attention ensures that any potential issues are identified and addressed before they escalate.
During each inspection, carefully examine all components of the exhaust system, including hoses, clamps, and connectors. Look for signs of wear, cracks, or corrosion that could affect functionality. Pay special attention to the exhaust outlets and catalytic converters, as these areas are vital for emissions control and performance.
Routine cleaning is also an essential part of maintenance. Removing built-up debris and checking for any blockages will help maintain proper airflow and efficiency. Consider using a specialized cleaning agent designed for exhaust systems to enhance results.
Documenting each inspection and maintenance session is important for tracking the system’s condition over time. This record will guide you in scheduling future treatments and repairs, providing a clear history of any issues encountered and resolved.
Finally, ensure that you are familiar with the manufacturer’s recommendations regarding maintenance care for your specific exhaust system. Adhering to these guidelines will help avoid warranty issues and prolong the lifespan of your equipment.


