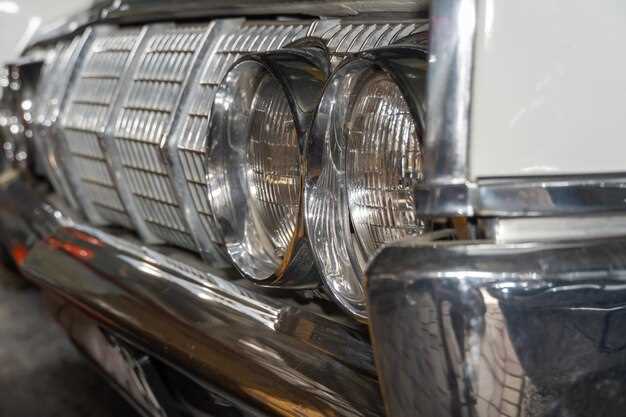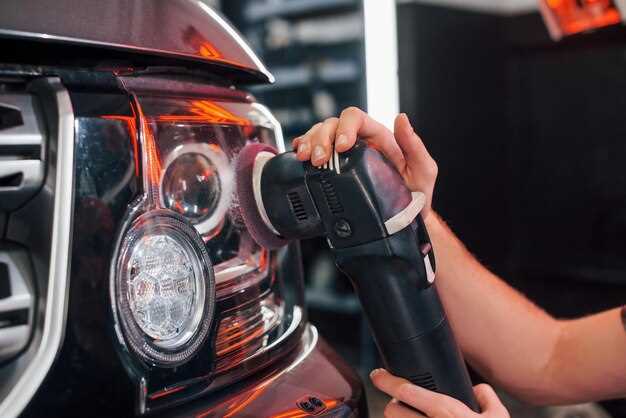
When it comes to maintaining your Dodge Charger, ensuring that your headlights and taillights are in optimal condition is crucial for both safety and visibility on the road. Over time, these essential components can dim, burn out, or become damaged, compromising your vehicle’s performance and your driving experience. This guide will provide you with straightforward steps to replace your headlights and taillights efficiently.
Replacing the headlights and taillights on your Charger can seem daunting, but with the right tools and a little know-how, you can complete the task quickly and effectively. Not only will this improve your car’s appearance, but it will also enhance your safety during nighttime driving or adverse weather conditions. In the following sections, we will cover essential tips and step-by-step instructions to get you started on the replacement process.
Before diving into the replacement, it’s important to identify the type of headlights and taillights your Charger requires. Different models may have varying requirements, so consulting your owner’s manual or checking with a parts supplier is always advisable. With the correct information and a few basic tools, you will be well on your way to restoring your vehicle’s lighting system to its full functionality.
Step-by-Step Process for Removing Old Headlights
Begin the process by ensuring the vehicle is parked on a flat surface, with the engine turned off and the keys removed from the ignition. This emphasizes safety during the headlight replacement.
Next, open the hood of your Charger. Locate the headlight assembly, which is usually situated at the front of the vehicle. Inspect the area for any mounting screws or clips that need to be removed.
Using a screwdriver or socket wrench, carefully remove the screws or bolts securing the headlight assembly. Keep these fasteners in a safe place for future installation of the new headlights.
Once the fasteners are removed, gently pull the headlight assembly forward. Be cautious not to apply excessive force, as it may damage the surrounding components.
Disconnect the electrical connector attached to the back of the headlight. To do this, press down on the tab or lever of the connector and pull it away from the headlight. Ensure that you do not tug on the wires, as this could lead to damage.
After disconnecting the electrical connector, you can now extract the old headlight from the assembly. If the headlight is held in place by retaining clips, carefully release them to fully remove the headlight.
With the old headlight successfully removed, inspect the assembly for any debris or damage. Cleaning the area will ensure optimal performance of the new headlights during installation.
Choosing the Right Replacement Bulbs for Headlights and Taillights

Selecting the appropriate replacement bulbs for your Charger’s headlights and taillights is crucial for ensuring optimal visibility and safety on the road. Understanding the different types of bulbs available is the first step in making an informed decision.
Halogen bulbs are commonly used for both headlights and taillights due to their affordability and ease of installation. They emit a warm white light, enhancing visibility in various weather conditions. When selecting halogen bulbs, make sure to choose ones that match the wattage and size specifications for your model.
Xenon or HID (High-Intensity Discharge) bulbs offer brighter and more efficient lighting compared to halogen options. These bulbs have a longer lifespan and consume less energy. However, they require a ballast for proper functioning, which can complicate installation. Ensure that your Charger is compatible with HID lighting before making the switch.
LED bulbs have gained popularity for their energy efficiency and long lifespan. They provide bright, clear illumination and come in various colors and brightness levels. While installation may require additional modifications or an adapter, the benefits of improved visibility and lower energy consumption make LEDs a compelling choice for many drivers.
When selecting replacement bulbs, consider the color temperature as well. A bulb with a higher color temperature (around 5000K to 6000K) will produce a cooler, more daylight-like light, improving visibility during nighttime driving.
Check local regulations regarding bulb types and brightness to ensure compliance. Some regions have restrictions on certain colors or intensities of lighting. Finally, always refer to your vehicle’s owner manual for specific information on bulb sizes, types, and installation procedures to ensure you make the best choice for your Charger.
Common Issues and Troubleshooting After Light Replacement

After replacing the headlights on your Charger, you may encounter several common issues that require troubleshooting to ensure optimal performance. One of the most frequent problems is improper alignment of the headlights. If the beams are not aimed correctly, you could experience reduced visibility or cause glare for oncoming drivers. To remedy this, consult your vehicle’s manual for the correct alignment specifications and adjust accordingly.
Another issue that may arise is flickering or dimming of the headlights. This could indicate a loose connection or a faulty bulb. Check the wiring harness and connectors to ensure they are securely attached. If the issue persists, consider replacing the newly installed bulb as it may be defective.
Sometimes, you’ll notice either the left or right headlight burning out shortly after replacement. This can be a result of a voltage surge or poor-quality bulbs. To prevent premature burnout, always use high-quality replacement bulbs and check for any underlying electrical issues that may affect headlight lifespan.
If you experience an electrical smell or see smoke near the headlight assembly, it is crucial to turn off the vehicle immediately. This could indicate a short circuit or a wiring problem. Inspect all electrical connections and wiring for damage, and replace any faulty components to avoid further issues.
Finally, if your Charger’s dashboard shows an error message related to the headlights, it may signify a problem with the vehicle’s body control module, or BCM. Resetting the BCM or consulting a professional may be necessary if the error persists after addressing other issues.


