The restoration of classic Chargers is a labor of love that requires attention to detail and a strong understanding of automotive electrical systems. One of the most critical aspects of this process is the management and repair of the electrical systems, particularly the wiring harness. A well-functioning wiring harness not only enhances the vehicle’s performance but also ensures safety and reliability on the road.
During a restoration project, it’s essential to assess the condition of the existing wiring and decide whether to repair or replace the wiring harness. Many classic Chargers are equipped with outdated electrical systems that can be prone to faults and failures. By adopting modern wiring techniques and employing high-quality materials, restorers can significantly improve the longevity and efficiency of these classic muscle cars.
In this article, we will delve into practical wiring techniques specifically tailored for classic Charger restoration projects. We’ll cover essential steps for evaluating existing wiring, tips for installing a new wiring harness, and best practices to ensure a seamless integration of electrical components. Understanding these techniques will empower restorers to deliver a vehicle that not only looks great but also operates flawlessly.
Selecting the Right Wiring Harness for Your Classic Charger
Choosing the appropriate wiring harness is crucial for the restoration of your classic Charger. An accurately selected harness ensures optimal performance and safety while maintaining the authenticity of your vehicle. Begin by determining whether to use an OEM (Original Equipment Manufacturer) harness or an aftermarket option. OEM harnesses are designed specifically for your vehicle’s model and year, offering a perfect fit and adherence to original specifications.
If you opt for an aftermarket wiring harness, evaluate its quality and compatibility with your Charger. Look for reputable manufacturers that provide detailed specifications, installation instructions, and customer support. Pay attention to the materials used in the harness; high-quality wire insulation and connectors are vital for durability and resistance to wear over time.
Consider the complexity of your restoration project. If your Charger requires extensive modifications or upgrades, such as modern electrical components, a universal wiring harness may be a better fit. These harnesses can be customized to accommodate different electrical systems, providing flexibility for your restoration needs.
Additionally, assess the thickness and gauge of the wiring included in the harness. Heavier gauge wires are capable of handling larger electrical loads, which is essential for high-performance upgrades or additional features like advanced lighting or sound systems. Ensure the harness you choose can handle the current requirements of your Charger.
Lastly, always read reviews and testimonials from other classic car enthusiasts regarding the harness you are considering. Their insights can provide valuable information about performance, ease of installation, and overall satisfaction. Selecting the right wiring harness will not only ensure a seamless restoration process but will also enhance the longevity and functionality of your classic Charger.
Step-by-Step Guide to Installing Wiring in Classic Chargers

Restoring a classic Charger is an exciting yet meticulous process, especially when it comes to wiring. Proper installation of electrical components is crucial for optimal performance and safety. Follow this step-by-step guide to ensure a successful wiring installation.
1. Gather Your Materials
Before beginning, collect all necessary components: high-quality wiring, connectors, electrical tape, a wiring diagram for your specific model, and required tools such as wire strippers, crimpers, and a multimeter.
2. Disconnect the Battery
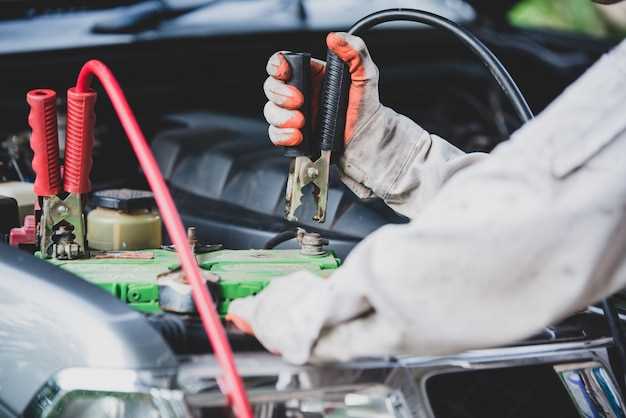
Safety should always come first. Start by disconnecting the negative terminal of the battery to prevent any accidental electrical shorts during the installation.
3. Remove Old Wiring
Carefully remove the old wiring harness from your Charger. Take note of how the wiring is routed and connected. A camera or sketch can help document the layout for reference.
4. Inspect Existing Components
Examine all electrical components, such as switches, relays, and connectors. Replace any damaged parts to ensure reliable operation and avoid future issues.
5. Prepare the New Wiring
Using the wiring diagram, cut new wires to appropriate lengths. Ensure the wires are rated for the electrical load they will carry. Strip the ends of each wire for easy connections.
6. Install the New Wiring Harness
Begin threading the new wiring harness in the same path as the original. Secure the wiring with clips or ties to prevent movement, friction, and potential damage.
7. Connect Components
Using the wiring diagram, connect each wire to its respective component, ensuring tight and secure connections. Utilize crimp connectors and solder where necessary for added reliability.
8. Test Connections
Before finalizing, use a multimeter to test each connection for continuity. This step helps identify any issues prior to connecting the battery.
9. Secure and Insulate Wires
Once everything is connected and tested, use electrical tape or heat-shrink tubing to insulate the connections. This protects against moisture and prevents shorts.
10. Reconnect the Battery
Finally, reconnect the negative terminal of the battery. Start the vehicle to test the functionality of the new wiring. Check all electrical components, ensuring everything operates correctly.
Following this step-by-step guide will assist in the successful installation of wiring in classic Chargers, ensuring both performance and safety for your restoration project.
Common Wiring Issues and Troubleshooting Tips for Restorations

When undertaking a classic Charger restoration, issues with the wiring harness are often at the forefront of challenges faced by enthusiasts. Common problems can arise from age-related deterioration, improper modifications, or incorrect installations. Identifying these issues early in the process can save time and effort down the road.
One frequent issue is frayed or damaged wires. Over time, the insulation on wiring can degrade, leading to exposed conductors that may short circuit or create intermittent electrical connections. Inspect the wiring harness thoroughly for any signs of wear. If you find damaged portions, consider splicing in new sections of wire using appropriate gauge materials and ensuring proper insulation to maintain safety.
Another common problem encountered is poor grounding. In classic Chargers, improper grounding can lead to erratic electrical behavior, including dimming lights and malfunctioning gauges. Verify all ground connections by cleaning contact points and ensuring they are securely fastened to bare metal surfaces. This will significantly improve electrical performance and reliability.
Additionally, mismatched or incompatible connectors can cause significant issues. When restoring, it’s crucial to source the correct wiring connectors that fit your specific Charger model. Replace any broken or corroded connectors to ensure solid connections and reduce resistance, which can lead to voltage drops and electrical failures.
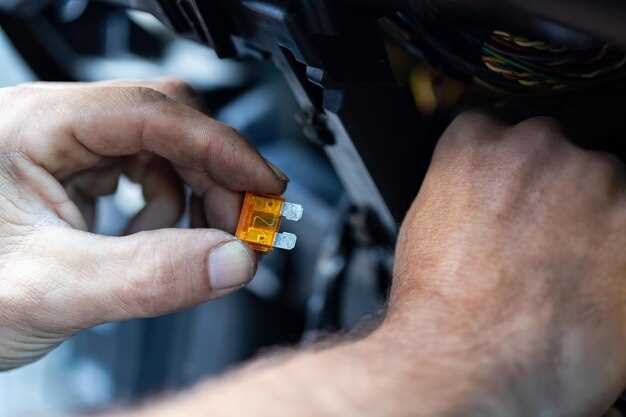
Circuit overload is another critical concern. Upgrading components without accounting for the original wiring capacity can lead to blown fuses and overheating wires. Always check the specifications on your new components and ensure that the existing wiring harness is rated to handle the increased load. If necessary, upgrade the harness with heavier gauge wire.
Flickering lights or intermittent power can often be traced back to faulty relays or switches. Test these components individually by bypassing them to see if the issue persists. This can help isolate the problem effectively. Replace any components that show signs of failure with OEM or high-quality aftermarket parts to ensure reliability.
Finally, documenting your wiring modifications during the restoration process is essential. Keep a detailed record of all changes made and any potential issues encountered. This will aid future troubleshooting and maintenance, ensuring that your classic Charger remains in top condition for years to come.


